Using a Notebook
To use notebooks, perform these steps:
If you don’t have a Spark cluster running, go to the Clusters page and create a Spark cluster by clicking New and clicking the Spark icon.
Start your Spark cluster.
Open the Notebooks page in the QDS UI, and click on the link for Examples.
Click Getting Started > Getting Started:

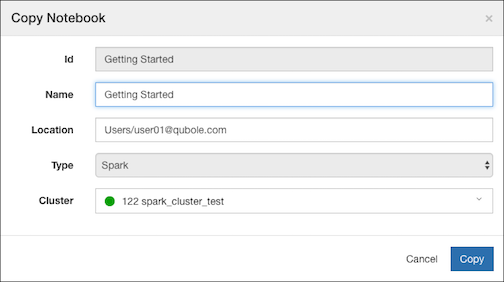
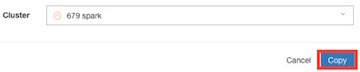
Click Copy Notebook. In the dialog window, give the notebook a new name or leave the default name. Choose a location or leave the default location. Choose the cluster and click Copy.
This creates and runs the new notebook. You’ll see a message that the notebook is in read-only mode while the cluster is starting up. This can take a few minutes.
When your notebook is ready, you can use it to increase your knowledge of Notebooks:
- Look at the many examples included in the Examples section of the Notebooks page to help you get started quickly.
- For more information on managing Notebooks, see the Qubole documentation section Notebooks.