Creating a Spark Schedule
Navigate to the Scheduler page and click the New button in the left pane to create a job.
Note
Press Ctrl + / to see the list of available keyboard shortcuts. See Using Keyboard Shortcuts for more information.
See Qubole Scheduler for more information on using the user interface to schedule jobs.
Perform the following steps to create a Spark schedule:
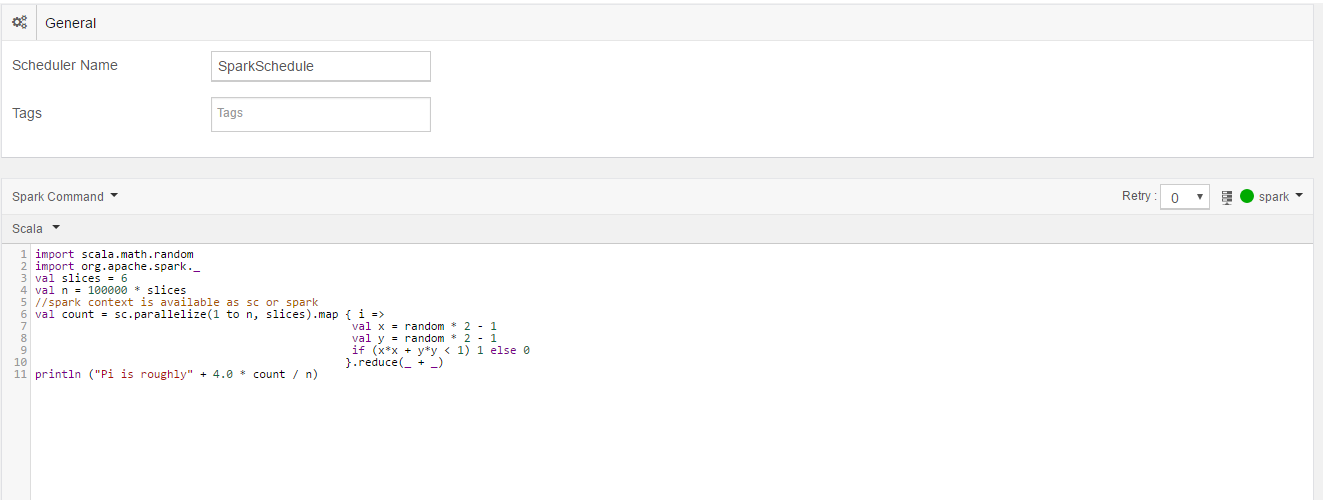
In General Tab:
Enter a name in the Schedule Name text field. This field is optional. If it is left blank, a system-generated ID is set as the schedule name.
In the Tags text field, add one or a maximum of six tags to group commands together. Tags help in identifying commands. Each tag can contain a maximum of 20 characters. It is an optional field.
In the command field, select Spark Command from the drop-down list. By default, Scala is selected as the programming language in the drop-down list that contains Command Line, Python, SQL, R and Notebook. Select a language from the list. Enter the query in the text field. The following figure illustrates a Spark Scala query.
You can schedule a notebook to run only if it’s associated with a cluster. Use the Notebooks page to compose notebook paragraphs.
For more information, see Running Spark Notebooks in a Schedule.
Add macros, and set parameters and notifications by following the steps as described in Creating a New Schedule.
See Viewing a Schedule and Editing and Cloning a Schedule for more information on viewing and editing a job.