Editing and Cloning a Schedule
You can edit an existing schedule’s settings. To retain the same configuration for another schedule, clone it.
Note
Press Ctrl + / to see the list of available keyboard shortcuts. See Using Keyboard Shortcuts for more information.
Editing a Schedule
Navigate to the Scheduler tab to see the schedules. From the list in the left pane, select a schedule that you want to edit. In the top of the schedule information page, click Edit to modify the schedule.
Note
There is a rerun limit for schedule reruns to be processed concurrently at a given point of time. Understanding the Qubole Scheduler Concepts provides more information.
The Edit Schedule page is displayed and all fields are optional.
Perform the following steps to edit a schedule:
Change the Schedule Name if you want to name it differently.
Creating a New Schedule describes how to edit all schedule options.
Click Save after editing the schedule settings. Click Cancel if you do not want to clone a schedule.
Cloning a Schedule
Note
There is a rerun limit for schedule reruns to be processed concurrently at a given point of time. Understanding the Qubole Scheduler Concepts provides more information.
Navigate to the Scheduler tab. From the list in the left pane, select a schedule that you want to clone. In the top
of the schedule information page, click Clone to retain the same schedule configuration in another schedule. By default,
a schedule gets the same name with Clone of words added before the schedule’s existing name as illustrated in the
following figure.
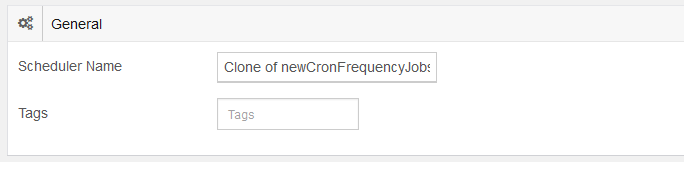
You can add a different name to the schedule. Click Save after cloning the schedule settings. A unique system-generated ID is assigned to a cloned schedule after it is saved. Click Cancel if you do not want to clone a schedule.
Changing the Owner of a Schedule
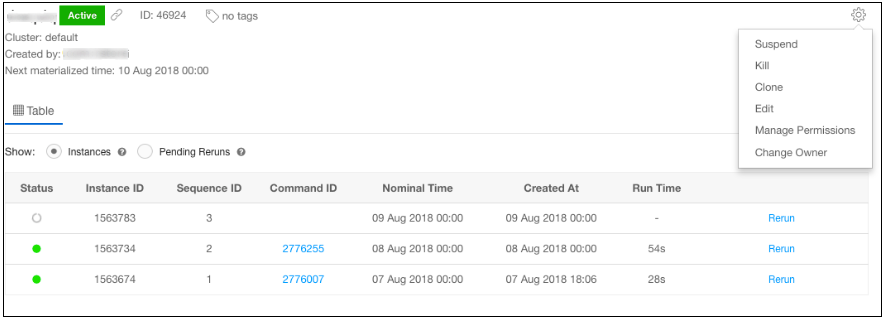
You can change the owner of a schedule if you have access to manage permissions. By default, the system admin can change the owner of a schedule. Navigate to the Scheduler tab to see the schedules. From the list in the left pane, select a schedule where you want to change the ownership and click the gear icon. Select Change Owner from the drop-down list. The Change Owner window is displayed.
Select the owner from the drop-down list of owners and click Save.
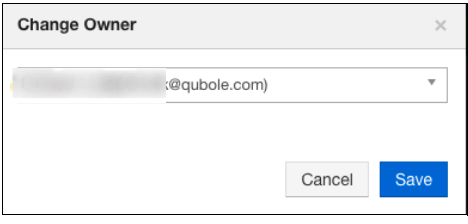
The ownership of the schedule is changed.