Manual Setup: Do-it-yourself (without script)
This section describes setting up a Qubole account on GCP manually, without the use of a Qubole-provided script. With this setup, you configure all GCP permissions by creating custom roles directly in the GCP console. Before beginning the setup process, be sure that you have the prerequisites described in Prerequisites and Signup.
There are four steps in this setup procedure:

Click the corresponding tab below to see the instructions for each of the four steps.
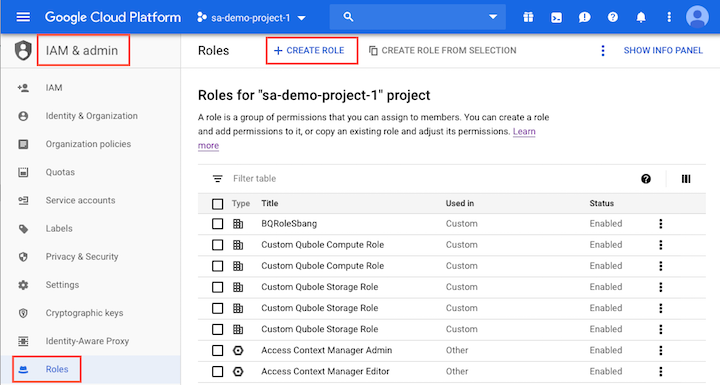
Step 1: Create Custom Roles
In the GCP console, create two custom roles, Qubole Custom Compute Role and Qubole Custom Storage Role, with the permissions listed below for compute and storage respectively.
Qubole Custom Compute Role:
- compute.addresses.use
- compute.addresses.useInternal
- compute.disks.create
- compute.disks.delete
- compute.disks.get
- compute.disks.list
- compute.disks.setLabels
- compute.disks.use
- compute.diskTypes.list
- compute.firewalls.create
- compute.firewalls.delete
- compute.firewalls.get
- compute.firewalls.list
- compute.firewalls.update
- compute.globalOperations.get
- compute.instances.attachDisk
- compute.instances.create
- compute.instances.delete
- compute.instances.detachDisk
- compute.instances.get
- compute.instances.list
- compute.instances.reset
- compute.instances.resume
- compute.instances.setLabels
- compute.instances.setMetadata
- compute.instances.setServiceAccount
- compute.instances.setTags
- compute.instances.start
- compute.instances.stop
- compute.instances.suspend
- compute.instances.use
- compute.networks.list
- compute.networks.updatePolicy
- compute.networks.use
- compute.networks.useExternalIp
- compute.regions.get
- compute.subnetworks.list
- compute.subnetworks.use
- compute.subnetworks.useExternalIp
- compute.zoneOperations.get
Qubole Custom Storage Role:
- storage.buckets.get
- storage.buckets.getIamPolicy
- storage.buckets.list
- storage.objects.create
- storage.objects.delete
- storage.objects.get
- storage.objects.list
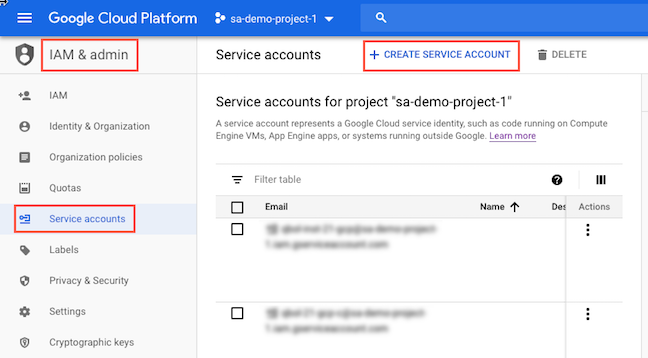
Step 2: Create Service Accounts
Create the following service accounts in your GCP project:
- Compute Service Account: Used to spin up clusters in the customer project
- Instance Service Account: Used to autoscale clusters based on workload and SLA.
Step 3: Assign Roles to Service Accounts
First assign the custom roles created in Step 1 to both the Compute and Instance Service Accounts you created in Step 2.
To use Google BigQuery, you must also add two additional roles:
- roles/bigquery.dataViewer on your Compute Service Account (CSA).
- roles/bigquery.readSessionUser on your Instance Service Account (ISA).
Next, establish the right links between the Qubole Service account, and the Compute and Instance Service accounts you created in Step 2.
Follow the steps below to link the accounts:
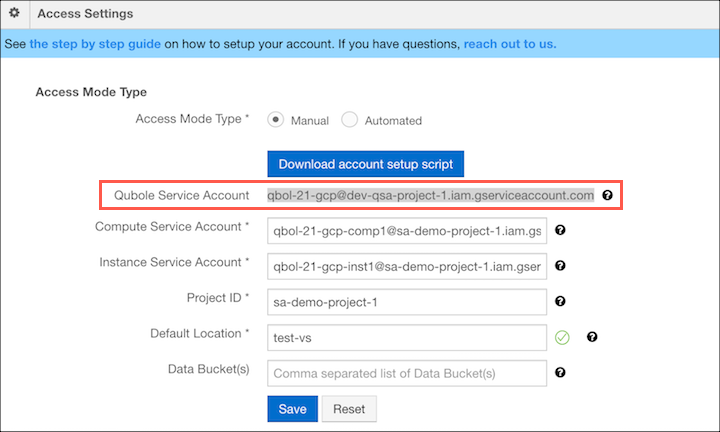
Copy the Qubole Service Account from your QDS Control Panel > Account Settings > Access Settings section, as shown below.
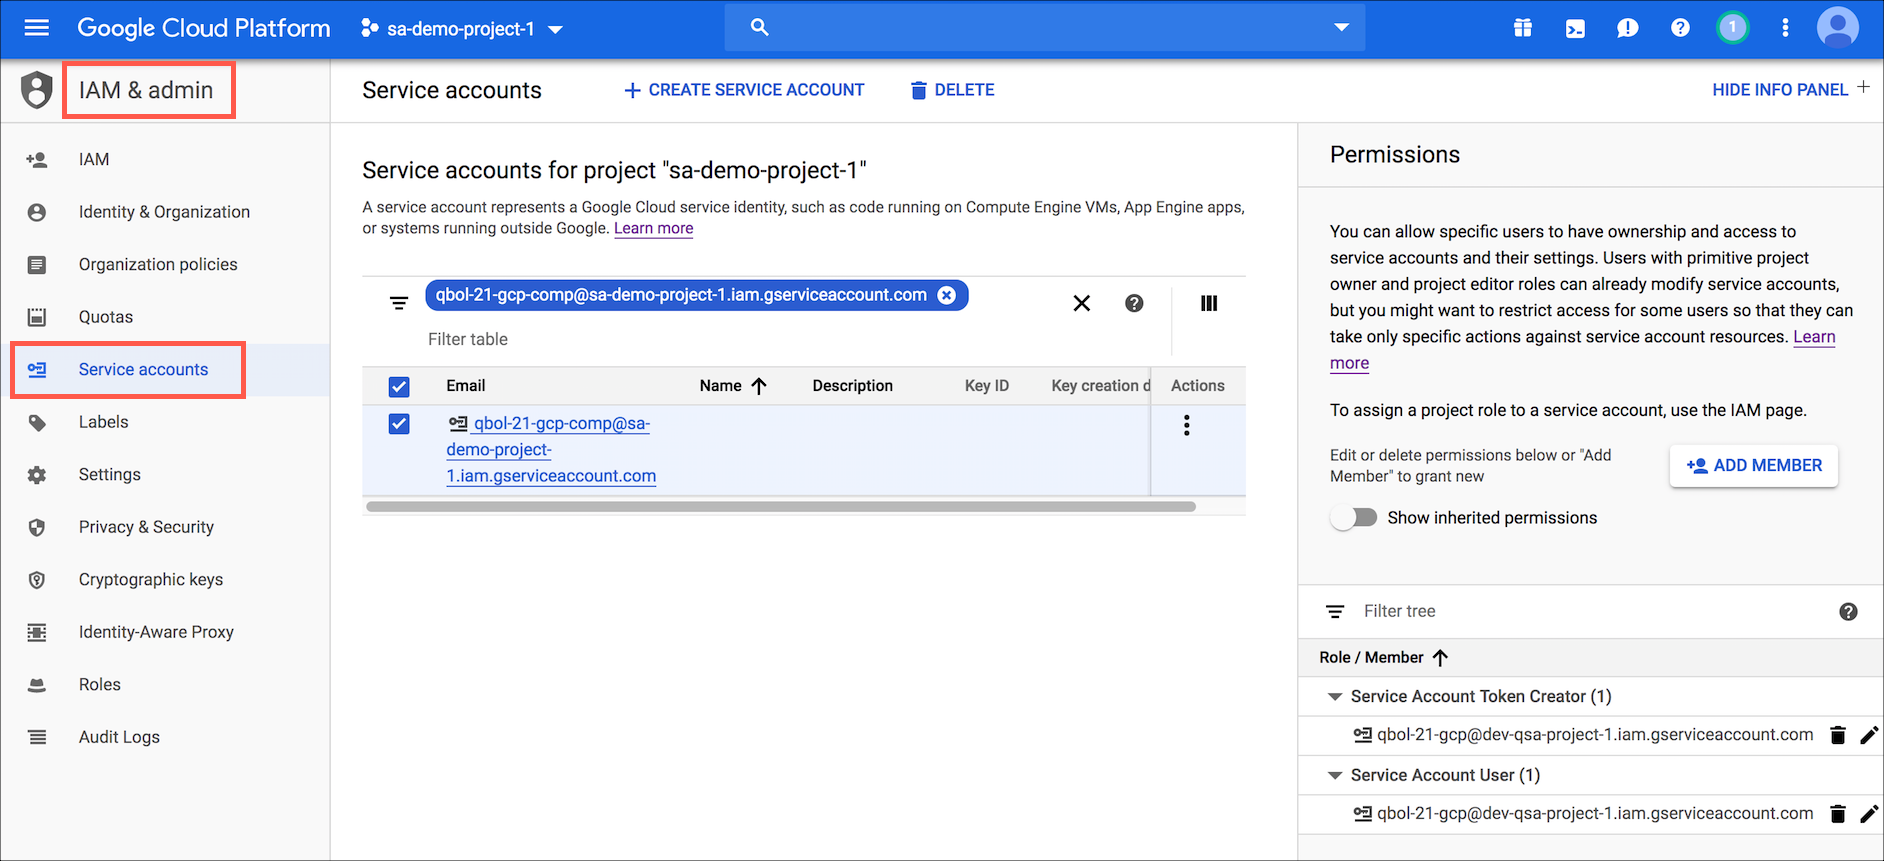
Go to IAM & admin > Service accounts in the GCP UI. Click SHOW INFO PANEL if it is not already displayed to show the Permissions section of the Service accounts screen.
Add the Qubole Service Account as a Service Account User and Service Account Token Creator on the Compute Service Account:
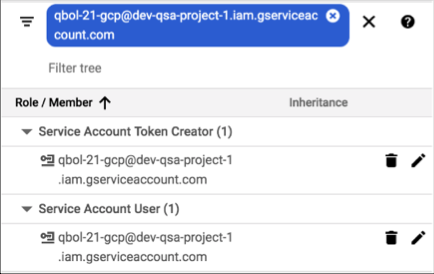
The Compute Service Account will now look like this:
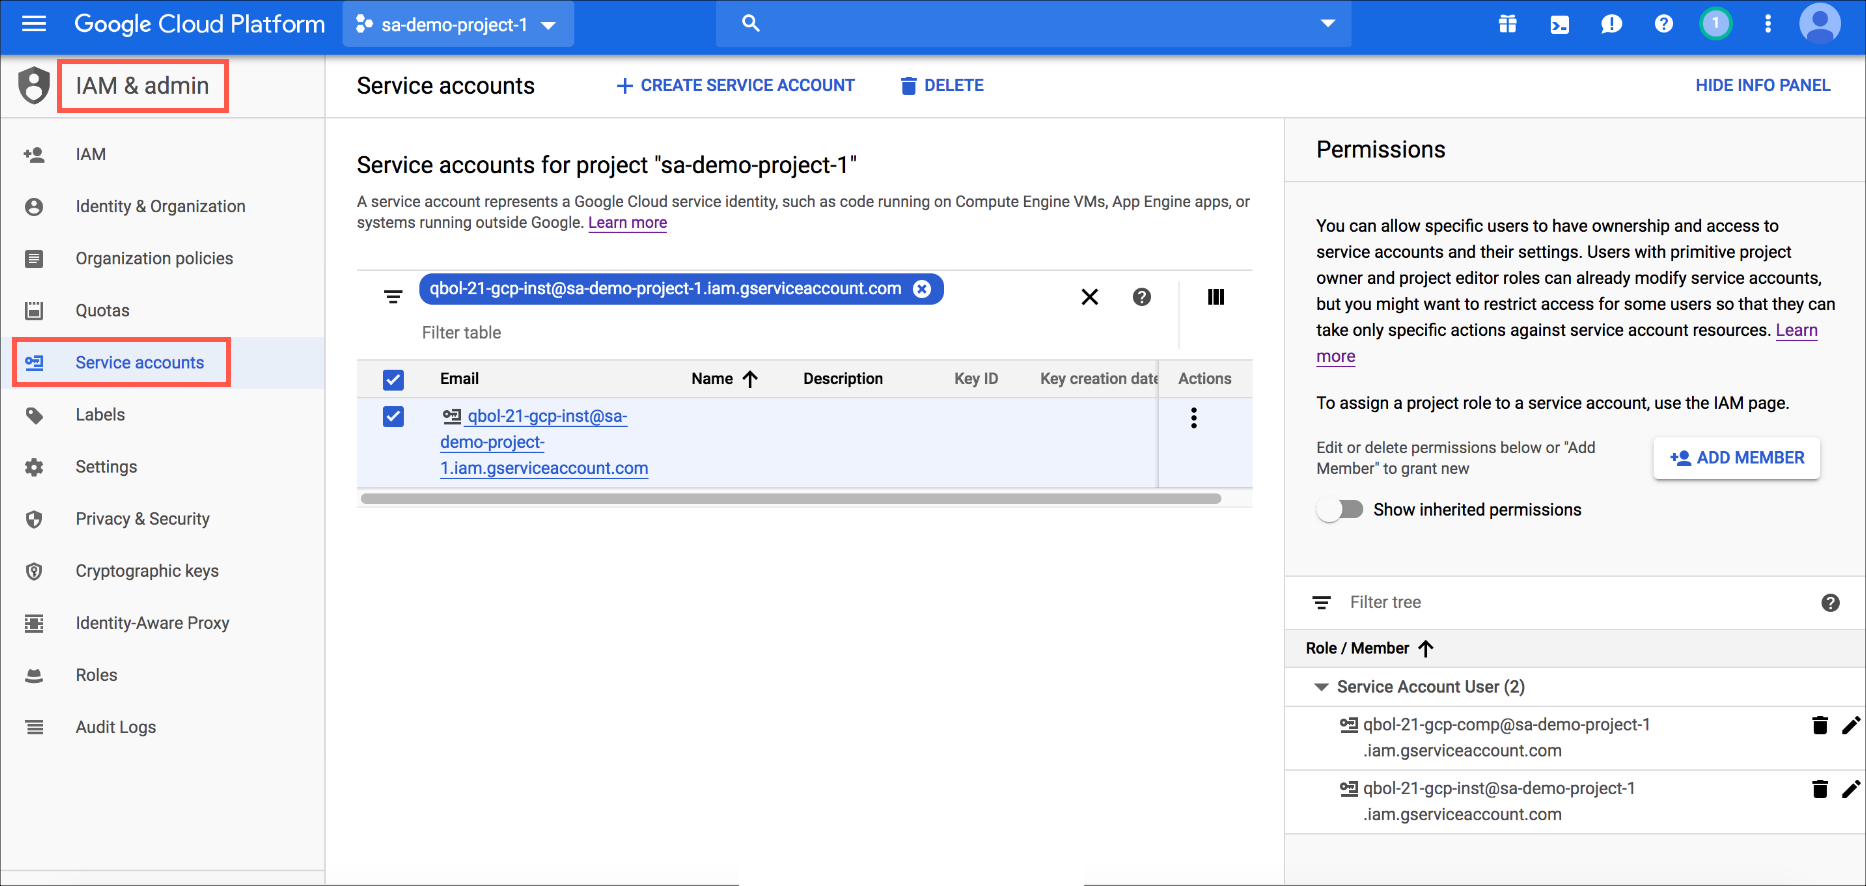
In similar fashion, add the following service accounts for the roles indicated:
- Add the Compute Service Account as a Service Account User on the Instance Service Account.
- Add the Instance Service Account as a Service Account User on the Instance Service Account.
The Instance Service Account will now look like this:
Step 4: Configure Storage Access
Create the following Cloud Storage buckets and provide read/write access for them to the Compute Service Account and Instance Service Account:
- A Cloud Storage bucket for your defloc (default location)
- The Cloud Storage buckets where you will store datasets that you want to analyze using QDS
To create these buckets and configure the permissions, perform the following steps:
Cloud Storage buckets used with QDS must be configured to provide read/write access to your Compute Service Account and Instance Service Account. To add Cloud Storage storage buckets and configure access permissions, perform the following steps:
In the Navigation menu of the GCP console, click Storage and then click Create Bucket.
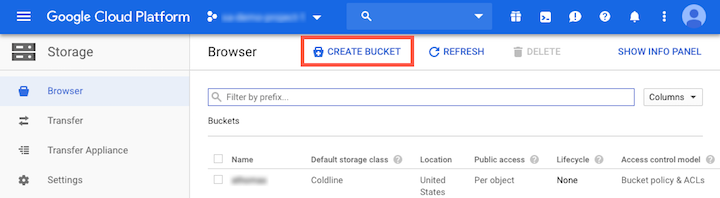
Provide a name for the bucket and click Create.
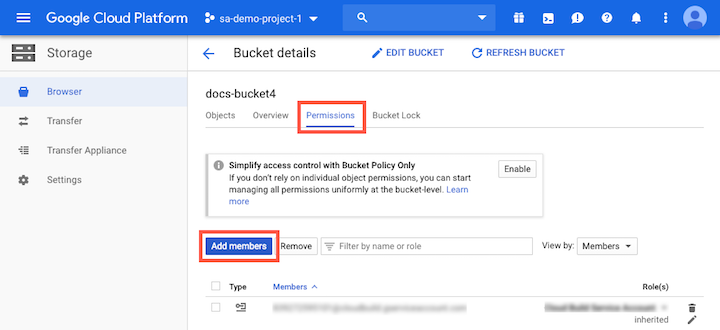
On the Bucket details screen, click the Permissions tab.
Click Add members.
In the QDS UI, from the Access Settings section of the Control Panel, copy the names of your Compute Service Account and Instance Service Account.
Paste the service account names into the New members field in the GCP console Add members screen.
In the Role field, click the role selection dropdown list and select Custom > Custom Qubole Storage Role to assign the Qubole Storage Role to the new members.

Click Save.
Note
If you add additional Cloud Storage buckets later, you must follow the same procedure to give access permission to the Compute Service Account and Instance Service Account for the new buckets.
Your account setup is now complete.
Go back up to Tabs.